Create your Bitwarden Account
We are thrilled to be a part of your secure information management journey. To create a Bitwarden account, select the Get Started button on our homepage, or click here.
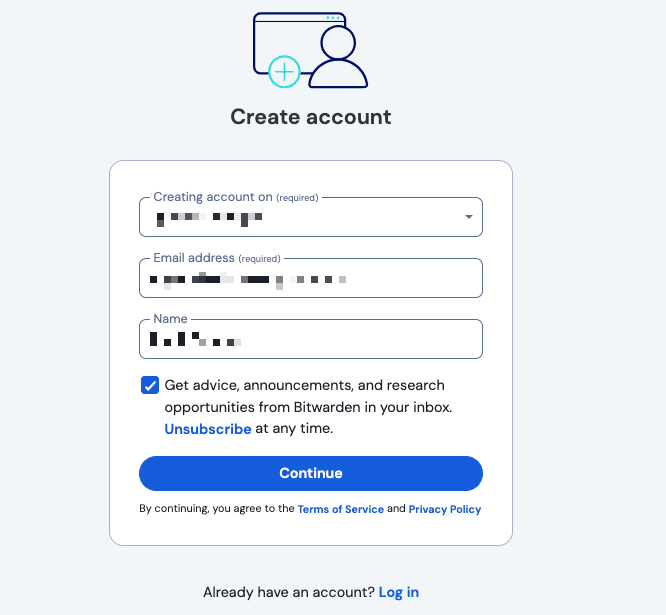
On the Create account screen, enter your Email address and choose a domain from the Creating account on dropdown:
tip
Your Bitwarden account can be created on our cloud servers in the United States or European Union, or on a self-hosted server. To choose which server to create your account on, scroll to the bottom of the page and use the Server or Logging in on dropdown to make a selection before submitting the form.
Select Continue to proceed. Bitwarden will send a verification email to your email inbox. When you receive that email, select the Verify email button to finish creating your account by setting and confirming a Master password:
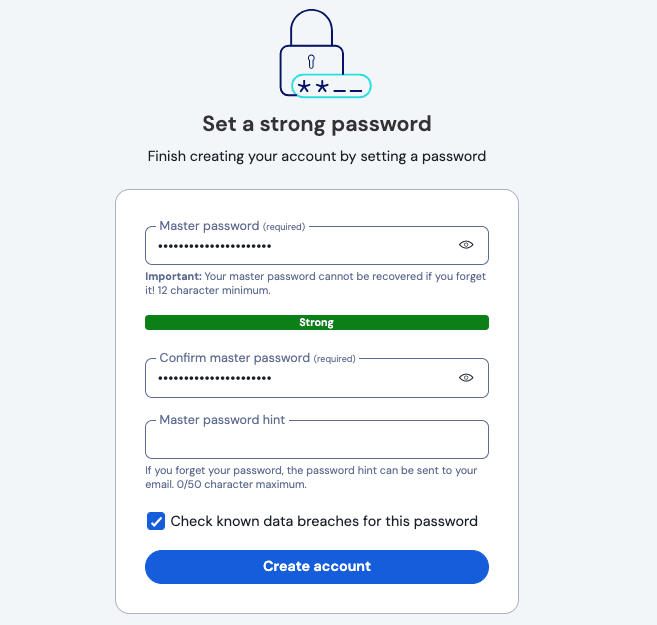
When you're happy with your master password, select Create account. You'll also have the option to check known data breaches for the password (learn more) before submitting a master password.
Organizations can invite users to sign up for Bitwarden. If you have been invited to an organization, check your email for an invitation from Bitwarden to join the organization. Open the email before it expires and select Join Organization Now.
Once you have created your account, prompt Bitwarden to send you a verification email by logging in to your web vault and selecting the Verify Email button. If you were prompted to verify your email during account creation, as described above, you can skip this step.
Now that you have created your account, we recommend:
Suggest changes to this page
How can we improve this page for you?
For technical, billing, and product questions, please contact support